You’re all set for a quick clean-up. You grab your trusty cordless car vacuum, ready to tackle those cracker crumbs and pesky pet hairs, only to find… nothing. The battery is dead, and worse, it refuses to charge. We’ve all been there, and let’s be honest, it’s incredibly frustrating. But before you consider tossing it out, take a deep breath. Learning How To Fix Car Vacuum Battery Not Charging is often simpler than you think. This guide will walk you through the troubleshooting steps, from the easy fixes to the more complex issues, turning you into a car cleaning pro.
A non-charging battery can be a real roadblock in your car care routine. If the battery is charging but the unit still isn’t working, you might be dealing with a separate problem. To understand more about that specific issue, exploring how to fix car vacuum not turning on can provide some valuable insights into motor or switch-related problems. For now, let’s focus on getting that power back into your battery.
Why Isn’t My Car Vacuum Charging? The Common Culprits
Before we dive into the fixes, it helps to understand what might be going wrong. Think of it like a detective story. Your car vacuum’s charging system is a simple circuit, and a break anywhere in that chain can cause a failure.
A non-charging car vacuum battery is usually caused by one of four things: a faulty power source, a bad charging cable or adapter, dirty or damaged contact points on the vacuum or battery, or a battery that has simply reached the end of its life.
Here’s a quick breakdown of the usual suspects:
- The Power Source: The outlet itself might be the problem.
- The Charger: The AC adapter or charging cable could be frayed, broken, or faulty.
- The Connection: Dirt, dust, or debris can block the charging contacts on the vacuum or the battery.
- The Battery Itself: Like all rechargeable batteries, your vacuum’s battery has a limited lifespan and will eventually lose its ability to hold a charge.
A Step-by-Step Guide: How to Fix Car Vacuum Battery Not Charging
Ready to get your hands dirty? Let’s work through the potential solutions systematically, starting with the simplest ones. Grab your vacuum and let’s get that battery juiced up.
Step 1: Check Your Power Source and Outlet
It might sound ridiculously simple, but you’d be surprised how often this is the issue. Don’t skip this step!
- Test the Outlet: Unplug your vacuum charger and plug in something else you know works, like a phone charger or a lamp. If that device doesn’t power up, you’ve found your culprit—a dead outlet or a tripped circuit breaker.
- Check the Breaker Box: If the outlet is dead, head to your home’s circuit breaker box. Look for a switch that’s in the “off” or middle position and flip it back on.
- Try a Different Outlet: If the first outlet is working fine, try plugging the vacuum charger into a completely different one in another room just to be 100% sure.
Step 2: Inspect the Charging Cable and Adapter
The charging cord leads a tough life—it gets coiled, twisted, and sometimes even stepped on. Damage here is a very common reason for a battery not charging.
- Visual Inspection: Carefully examine the entire length of the charging cable for any visible signs of damage. Look for cracks, frays, exposed wires, or sharp bends. Pay close attention to the points where the cable connects to the adapter and the plug that goes into the vacuum.
- The Adapter Block: Check the adapter itself. Does it feel unusually hot when plugged in? Do you hear any buzzing sounds? These are red flags indicating it may have failed internally.
- The “Wiggle Test”: Plug the charger into the vacuum. Does the charging indicator light flicker or only turn on if you hold the cable at a specific angle? If so, you likely have a broken wire inside the cable or a loose connection port.
Step 3: Clean the Battery and Vacuum Contact Points
This is a huge one, especially for a tool used in a dusty environment like a car. The metal contacts that transfer power from the charger to the battery need to be clean to work effectively.
“I see this all the time,” says John Carter, a veteran car detailing specialist. “People forget that a car vacuum is constantly sucking up fine dust and debris. Some of that can easily find its way onto the charging contacts, creating a barrier that electricity can’t cross. A simple cleaning often solves the problem instantly.”
- Disconnect Power: First and foremost, unplug the charger from the wall. Safety first!
- Locate the Contacts: Find the metal contact points on your vacuum’s charging port and on the battery itself (if it’s removable).
- Clean Gently: Take a dry microfiber cloth or a cotton swab lightly dampened with isopropyl alcohol (rubbing alcohol). Gently wipe the contact points to remove any dust, grime, or corrosion. Make sure the area is completely dry before you try charging again.
Step 4: Give the Battery a “Reset”
Sometimes, the battery’s internal protection circuit can get confused, especially if it was fully drained. A simple reset might kick it back into gear.
- Removable Battery: If your vacuum has a removable battery, take it out. Let it sit for 10-15 minutes at room temperature. Then, re-insert it firmly and try charging again.
- Integrated Battery: If the battery is built-in, try leaving the vacuum unplugged for about an hour before plugging it back in. This can sometimes reset the charging circuit.
What If It Still Won’t Charge? When to Consider a Replacement
If you’ve tried all the steps above and your vacuum is still giving you the silent treatment, it might be time to face a tougher reality. The issue could be more serious.
Signs of a Dead Battery
A battery that has reached the end of its life will show clear signs. If you’re experiencing these, no amount of troubleshooting will help.
- Extremely Short Runtime: Does the vacuum die just a minute or two after you thought it was fully charged?
- No Power at All: Even after being plugged in for hours, it shows no signs of life.
- Physical Damage: Do you see any swelling, bulging, or leaking from the battery pack? If you see this, stop immediately. A damaged lithium-ion battery can be a fire hazard.
If your battery is toast, your next step is to check if your model has a replaceable battery. Many high-quality vacuums, like those from Vacuum Mini, are designed with this in mind. If not, it may be time to invest in a new unit.
|
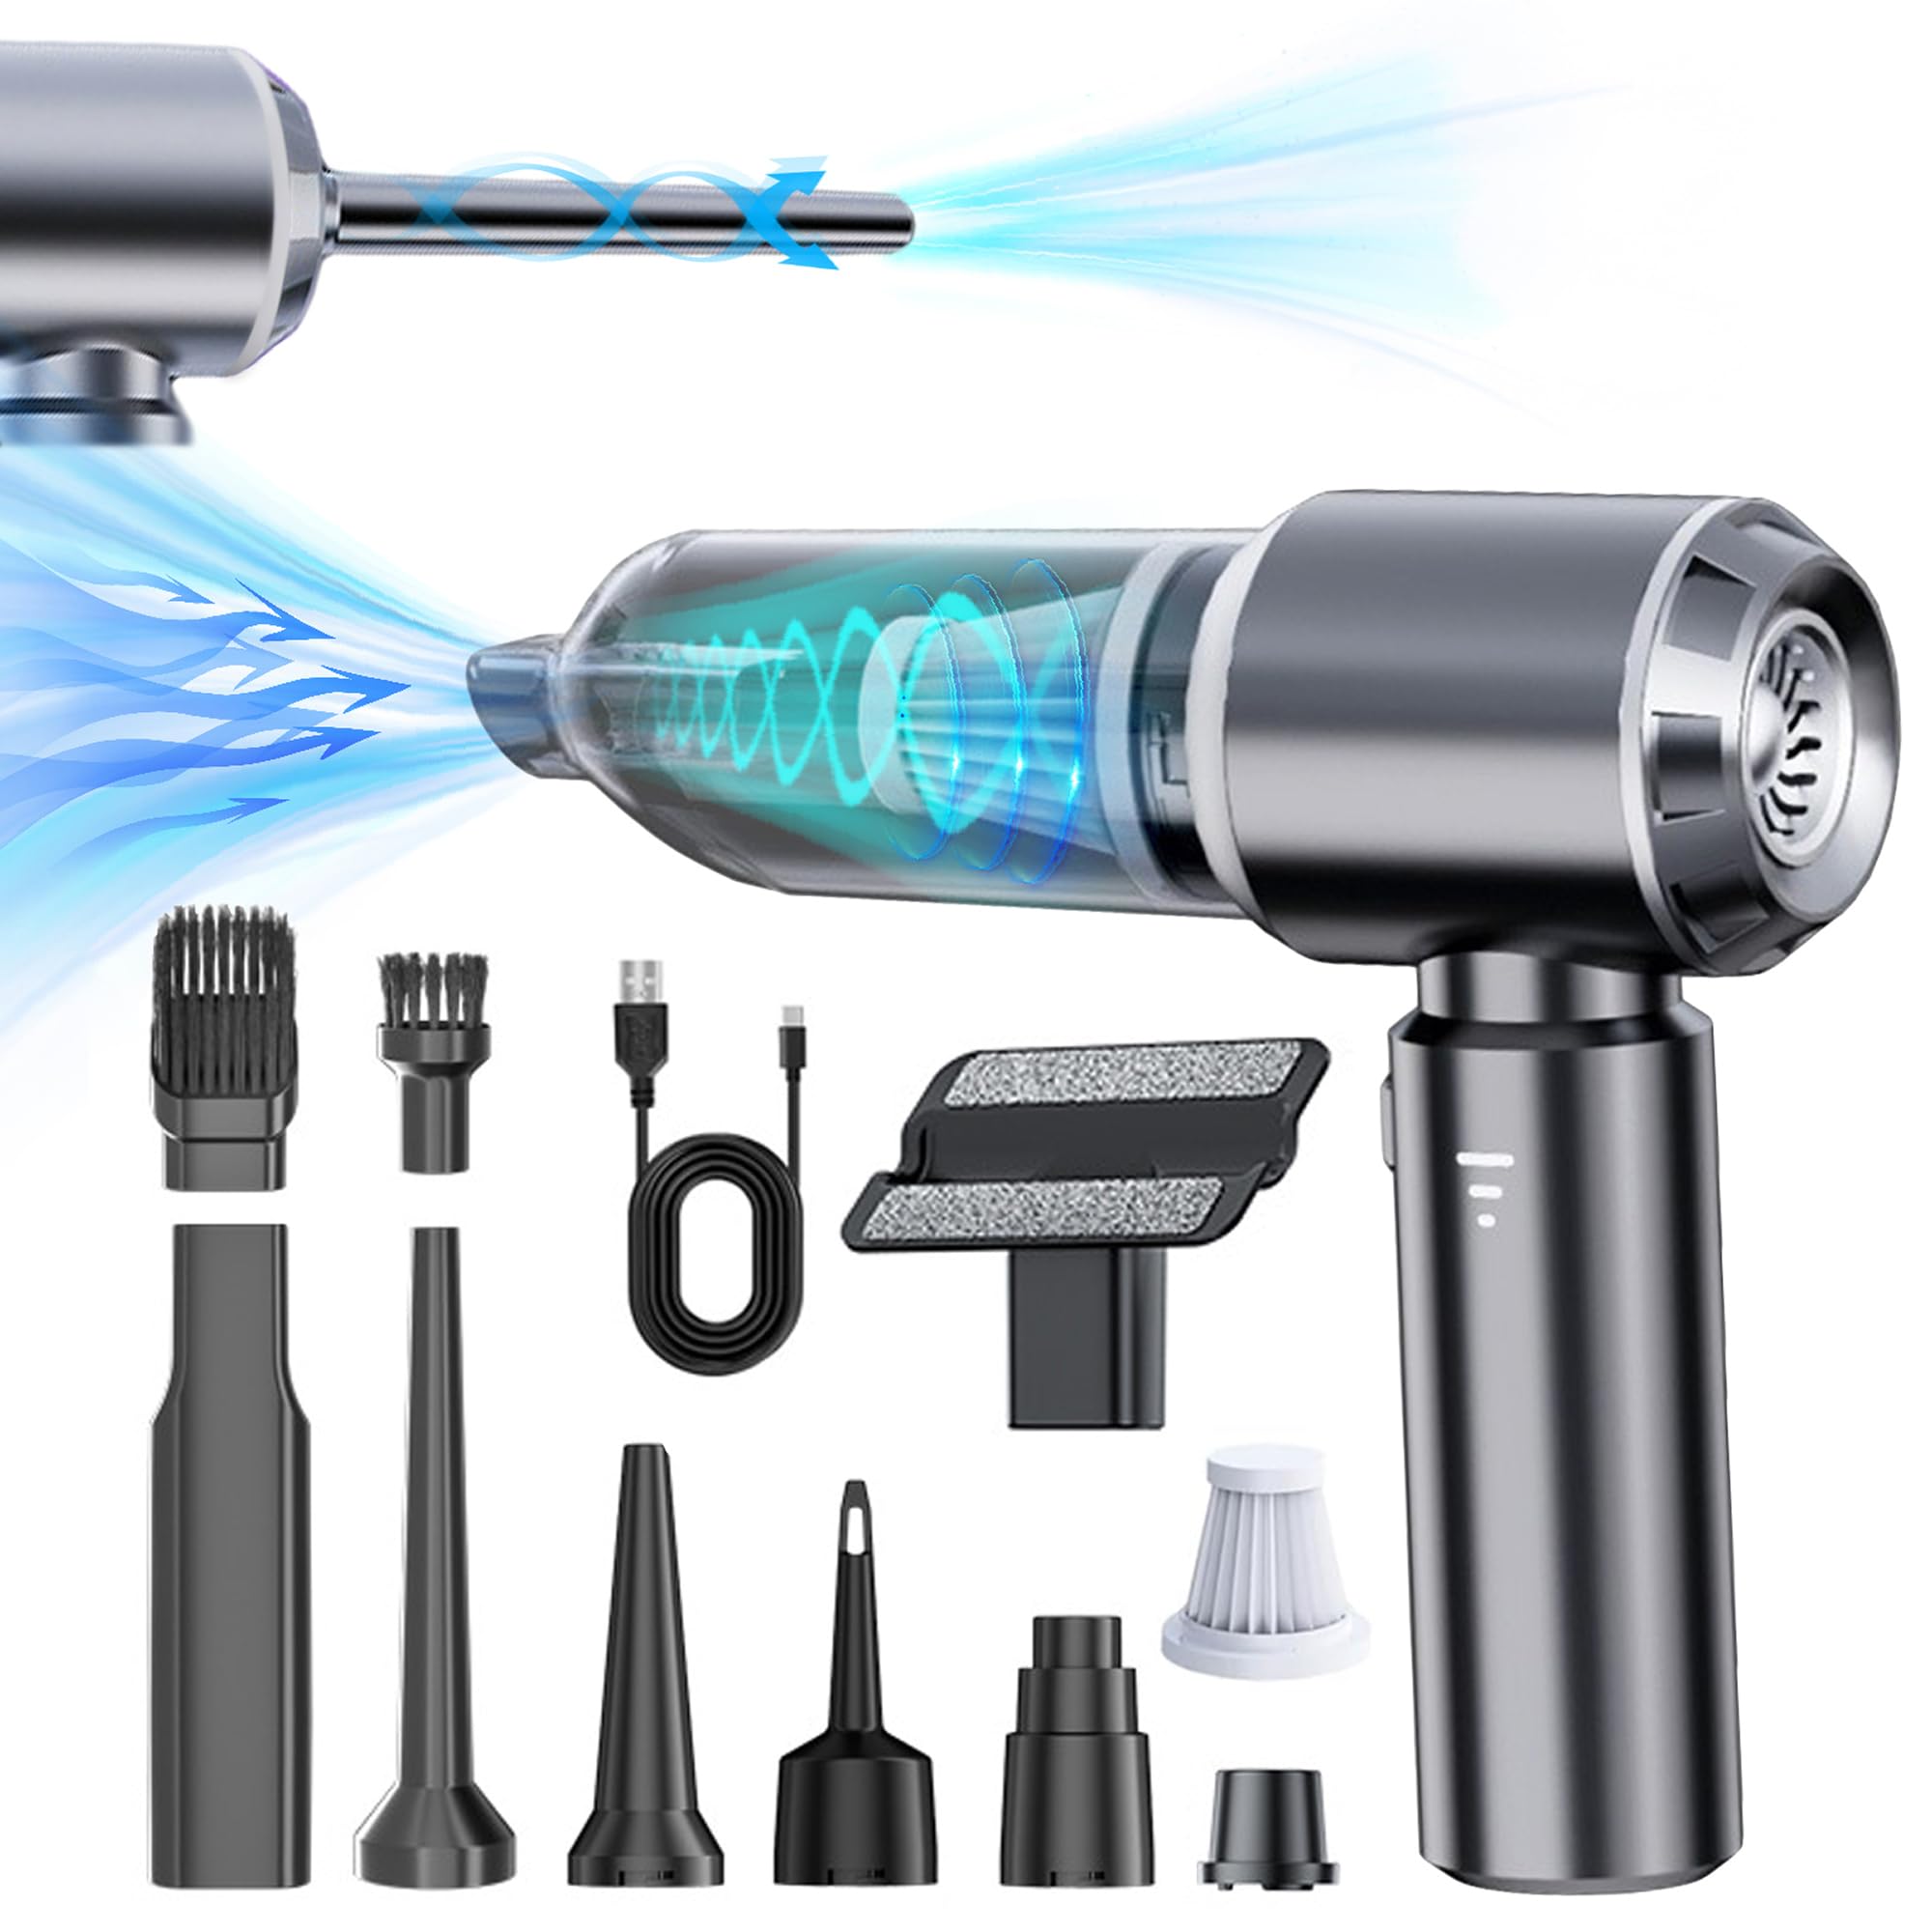
Our Picks for the Best Vacuum Mini in 2026
As an Amazon Associate, we earn from qualifying purchases.
|
||
| Num | Product | Action |
|---|---|---|
| 1 | WOLFBOX MF100 Electric Air Duster-150000RPM Super Power Cordless Air Duster, Rechargeable Brushless Motor Durable Blower, 3-Gear Adjustable Dust Blower for Computer, Keyboard, Outdoor, House and Car |

|
| 2 | WOLFBOX MF50 Compressed Air Duster-110000RPM Super Power Electric Air Duster, 3-Gear Adjustable Mini Blower with Fast Charging, Dust Blower for Computer, Keyboard, House, Outdoor and Car |
|
| 3 | Shark StainStriker Portable Carpet Upholstery & Area Rug Cleaner, Bonus XL Tool & Full-Size Cleaning Solution, Stain & Odor Remover, Perfect for Car Interiors, 4 Cleaning Tools, Nordic Blue, PX202BRN |
|
| 4 | BISSELL Little Green Mini Portable Carpet and Upholstery Deep Cleaner, Car/Auto Detailer, with HydroRinse Self-Cleaning Tool and 4\" Tough Stain Tool, Tea Green, 4075 |
|
| 5 | BISSELL Pet Hair Eraser Cordless Hand Vacuum, Lithium Ion, Home, Auto, and Pet Vacuum, Easy-Empty Dirt Bin, Upholstery Tool, Brush Tool, and Crevice Tool Included, 2390A |
|
| 6 | CRAFTSMAN CMXEVBE17250 2.5 Gallon 2.5 Peak HP Wet/Dry Shop Vac, Portable Shop Vacuum Wet and Dry with Filter Bag, Hose and Attachments for Cleaning in the Home |
|
| 7 | BLACK+DECKER dustbuster AdvancedClean Cordless Handheld Vacuum, Compact Home and Car Vacuum with Crevice Tool (CHV1410L) |
|
| 8 | BLACK+DECKER dustbuster QuickClean Cordless Handheld Vacuum, Car Vacuum Portable (HNVC215B10) |
|
| 9 | Fanttik Slim V8 APEX Car Vacuum, 4-in-1 Portable Mini Cordless Vacuum with 19000pa Suction Power, Type-C Charge, 2 Suction Modes, Handheld Vacuum for Small Jobs, Car, Office Desk, Keyboards (Black) |
|
Signs of a Failed Internal Component
In rare cases, the charging port inside the vacuum or the internal charging circuitry itself might have failed. This is a more complex repair that is often not worth the cost compared to purchasing a new, reliable vacuum with a full warranty.
Pro Tips for a Long and Healthy Battery Life
Prevention is always better than cure. To avoid finding yourself searching for how to fix car vacuum battery not charging again in the future, follow these simple maintenance tips.
- Avoid Extreme Temperatures: Don’t store your car vacuum in a freezing garage in the winter or a scorching hot car trunk in the summer. Extreme temperatures are the enemy of battery health.
- Don’t Store It Dead: Try not to leave your vacuum with a completely drained battery for long periods. It’s best to store it with at least a partial charge (around 40-60%).
- Use the Right Charger: Always use the original charger that came with your vacuum. Using a charger with the wrong voltage or amperage can damage the battery over time.
- Unplug After Charging: While most modern devices have overcharge protection, it’s still good practice to unplug the vacuum once it’s fully charged to reduce stress on the battery.
Frequently Asked Questions (FAQ)
Q1: How long should a car vacuum battery last?
A typical lithium-ion battery in a car vacuum should last for 300-500 charge cycles, which usually translates to 2-4 years of regular use. Performance will gradually decrease over time.
Q2: Can I use a different charger for my car vacuum?
It is highly recommended to only use the charger provided by the manufacturer. Using an incompatible charger can be ineffective at best and can permanently damage the battery or create a safety hazard at worst.
Q3: Is it bad to leave my car vacuum plugged in all the time?
Most modern vacuums have built-in protection to prevent overcharging. However, leaving it constantly plugged in can contribute to very slow, long-term battery degradation. It’s best to unplug it once it reaches a full charge.
Q4: Why does my vacuum’s charging light blink?
A blinking light can mean different things depending on the brand. Often, a steady light means it’s charging and a solid, non-blinking light means it’s full. A blinking light could also indicate a charging error, an incorrect temperature, or a faulty battery. Check your user manual for specifics.
Q5: Can a completely dead battery be revived?
Sometimes, yes. The “reset” method mentioned earlier can work. However, if a lithium-ion battery has been left completely dead for many months, it may have discharged below a critical voltage and may be impossible to revive.
Conclusion: Powering Up Your Car Care Routine
A non-charging battery can feel like a major setback, but as we’ve seen, the solution is often within reach. By methodically working through these troubleshooting steps, you can quickly diagnose the problem. From checking your power source to cleaning the contacts, you now have the knowledge for how to fix car vacuum battery not charging and get back to maintaining that pristine car interior. A clean car is a happy space, and a reliable vacuum is your best partner in achieving it. So go ahead, give these fixes a try and bring your trusty cleaning companion back to life.